PaleYo

Archive - August 2014

Beet Kvass Recipe

This is a beverage/tonic that I first bought from Life Enhancing Farms in Lancaster, PA. This fermented drink packs a ton of nutrition because of the beets themselves.  Beets have been traditionally used as a blood tonic, to aid the liver, high alkalinity, and help digestion and regularity.  Beet kvass is slightly salty, slightly sour, and certainly tastes like beets. I generally have this first thing in the morning mixed half and half with water.  I have also found it to be very, very refreshing while working outside in the garden or in the yard on a hot day.

Equipment:

  1. 1 quart mason jar with lid or any old jar with a lid.

Ingredients:

  1. 2 organic  medium sized beets, any variety
  2. 1 tsp  celtic sea salt or Himalayan salt
  3. Filtered water
  4. ¼ cup whey or ¼ cup previous batch or ½  package or veggie starter culture from body ecology mixed in ¼ cup filtered water

Peel and coarsely chop the beets and place in the mason jar with the culturing agent and salt.  Fill the jar up with filtered water leaving 1 inch at the top and shake vigorously. Keep this at room temperature for about 3 days then transfer to the fridge.  Once most of the liquid is used, fill up with water again, add 1 tsp. salt, shake and leave again for 3 days.  After this batch is used, eat or discard the beets and save some liquid to make your next batch with fresh beets. If you want a slightly carbonated drink transfer the kvass into a flip top jar and leave out for another day or two.

Dr. Noah’s Kombucha Recipe

Equipment:

  • Glass ½ gallon mason jar
  • Cheese cloth
  • Rubber band or lid for mason jar

Ingredients:

  • Filtered Water
  • ½ cup organic white sugar
  • 3 bags of organic tea black, green, or white
  • Kombucha mother and ½ cup booch from previous batch

Method:

Boil enough water to fill the mason jar 2/3 the way full, add sugar and tea bags, and let cool. Remove tea bags and discard. Now add kombucha mother and ½ cup reserved booch, put the lid on loosely or cover with cheese cloth.  It seems that covering the jar with a clean rag or cheese cloth may work better than putting the lid on, you may need to experiment.  Secure the cheese cloth or rag with a rubber band so it doesn’t fall off, and let the culturing process begin; anywhere from 10 days to three weeks depending on the temperature.  Cooler the temperature the longer it will take; higher the temperature the shorter it will take. If it’s left long enough it will turn into Kombucha vinegar (very good). The more consistent you are the more consistent your booch will be.  Remember cleanliness and keeping all equipment sterilized is very important!

A new mother will grow during the fermenting process.  You can share this, store this in the fridge with a little liquid and sugar, or simply discard it! It looks like a pancake.  It is possible that it will be stuck to your other mother, and you may have to separate it very, very gently.

Remember this is an alive organism and is sensitive to heat.  It is not too difficult to kill your Kombucha Mother, so be careful. .

What & Why of Cultured and Fermented Foods!

Fermenting foods has been around for thousands of years. It serves two primary purposes: 1. To help preserve foods and 2. To make foods more nutritious and digestible. Societies and cultures throughout time, continuing today, use these practices.  Without fermentation we would be without wine, beer, cheese, and bread to name a few staples in our world today. With the advent of packaging, refrigerators, irradiation, and other food distorting techniques this art is nearly becoming lost.  Over the last 20 years we have seen a huge introduction of yogurt and yogurt products in the supermarkets but these products are suboptimal at best. They are filled with sugars, artificial sweetners, and other products that all but negate any positive benefits. It’s time to make your own!  My hope is to ignite a spark inside you to investigate this ancient practice a little more. In the process you will be preserving a part of our culture, others culture and at the same time you will be increasing the level of your health and well being.

A few benefits of fermented foods:

  1. There are more microbes in our gut then cells in our body. Eating fermented foods help to restore your digestive tract with the proper microflora. This improves the function of your immune system, digestion, and your brain.
  2. Fermented foods are easily digested, rich in enzymes, and through this process vitamins and antioxidants are actually created and increased.  For example; Vitamin K2 a potent cancer fighter and bone builder is increase when making kefir or fermented soy products such as natto.  Another example is Vitamin C which is increased when cabbage is fermented to make sauerkraut or kimchi.
  3. Cancer causing compounds like acrylamide and nutrient depleting compounds like phytates are reduced through the process of culturing foods. This in turn as stated before makes foods more nutritious and more digestible.
  4. Fermentation increases the lifespan of foods allowing you to enjoy local and raw foods throughout the winter.
  5. Studies have shown that fermented foods can reduce the risk of cancer, obesity, and metabolic syndrome and other diseases associated with this!
  6. As you restore the integrity of your digestive system you in turn will increase the function of your central nervous system primarily your BRAIN!

Primal Sans Lasagna

The other day I was craving lasagna.  I just wanted the layers of pasta, cheese, and sauce…but not really.  I don’t miss pasta, but I missed the tastes of lasagna all mashed together.  I had to devise a plan to make it, somehow, someway…this is how it happened and it’s primal, not so paleo.

Lasagna NoodlesI looked in the fridge and I figured that maybe I could just layer meat, cheese, sauce, and call it a day.  But that wouldn’t give me the “lasagna” feel though.  Then, at that moment where I felt defeated, alas, 2 yellow squash…PERFECT!  I’ve used them as “noodles”, so why not try them as “lasagna”.  I cut them vertically, just like pieces of lasagna.  I put them into a boiling pot of water for a couple minutes until they softened up.  (Next time I’m going to try them grilled.)  I heated up some sauce, shredded some cheese, steamed some kale, and cooked up some chicken.  I seasoned the chicken with garlic, salt, and pepper.  After all my elements were ready, I constructed my “Sans Lasagna”.  I put a little bit of sauce on the bottom, then a layer of the yellow squash, ricotta cheese, mozzarella cheese, chicken, sauce, then kale; repeat.  It was so good-I’m actually glad there was leftovers.

  • 9 x 12 inch foil pan
  • 2-4 Large Yellow Squash
  • 5 chicken breasts
  • 2 handfuls of baby kale
  • 1 can of tomato sauce
  • mozzarella cheese
  • ricotta cheese
  • garlic powder, salt, and pepper to taste for the chicken

Tonight for dinner — calzones!

OCD – Obsessive Coffee Disorder

I run on Dunkin’.  (Although I may not be a coffee drinker anymore after this article.)

Rarely ever do I go to Starbucks for coffee, unless it’s 1) convenient and I need it or 2) Dunkin’ is too far…but now, NEVER AGAIN!  This post will support my decision to never drink Starbucks again; for any Paleo person who occasionally enjoys a Starbucks…you may be disappointed of my findings.  I’m actually scared to look up Dunkin’, but for now – out of site, out of mind.

So it just so happens that Starbucks has pumpkin spice lattes out a little early, way ahead of Dunkin’ Donuts (pumpkin coffee from DD is my weakness).  So for anyone who’s itching to have that pumpkin spice and decides to head over to StealBucks, you may want to keep that car in park for a moment and read this.  Pumpkin Spice Lattes are rumored to be one of the most popular drinks, and for anyone who loves fall and such, I can see why.

What is in a Starbucks Pumpkin Spice latte?  Perhaps, espresso with something pumpkin-y, steamed milk, whipped cream (if you’re into it)…sadly, you are mistaken!  You have been deceived, friends.  This beverage contains NO real pumpkin, just pumpkin pie spices.  That delicious, yummy, warming, pumpkin spice flavor you taste…yeah, well that’s syrup, HIGH FRUCTOSE CORN SYRUP!  Plus, the sweetened condensed milk, may contain high fructose corn syrup in it, as well.

If you’re into Paleo, you know that artificial coloring, is a no-no.  So caramel coloring is something WE CANNOT HAVE.  In this cup of coffee, it contains, not 1, but 2 doses of the MOST DANGEROUS caramel coloring out there!  It is made with ammonia and considered a carcinogen.  A U.S. government funded study was conducted, and the conclusion was that feeding mice caramel coloring IV ,which contained 4-Mel, (just like the stuff you find in Starbucks products) increased their risk of developing lung cancer and leukemia (in California it is known to cause cancer).  Say what?!  I’m starting to get a headache just writing about this.  The milk they use is from cows that are fed GMO corn and soy.  It also contains a stabilizer that is linked to inflammation and cancer.  If you order the grande, even in your best French accent, it contains 50g of sugar, not to mention 380 calories of nothing!!  That’s not healthy!  You can enjoy your cup of joe with artificial flavors, preservatives, and sulfites; with a side of possible pesticides from non-organic coffee beans!  Are you following me??  And when you think you’re ordering it with soy milk because maybe you’re vegan…well guess what?  That’s not made with vegan’s in mind since the Pumpkin syrup has condensed milk in it!

Starbucks does not sell organic coffee, as fancy as you are fooled to think they are.  Coffee imported from other countries is generally the most heavily chemically treated crop.  So every time you enjoy a nice hot cup of coffee from Starbucks, consider it a cup of dangerous pesticide exposure.  A lot of pesticides and toxins banned here in the U.S., are not banned anywhere else and can be poisonous.  You can forget that decaf too–the coffee beans are soaked in a chemical solution to make them decaf (I’ll have to do more research on it later, though).

Here’s a link to a healthier version of the Pumpkin Spice Latte.

Here’s a link to Dr. Mercola’s article, If You Drink Coffee Make Sure It’s Organic.  It’s a really good, informative read.

I have included links to Starbucks ingredients, as well as the warning about caramel coloring IV.

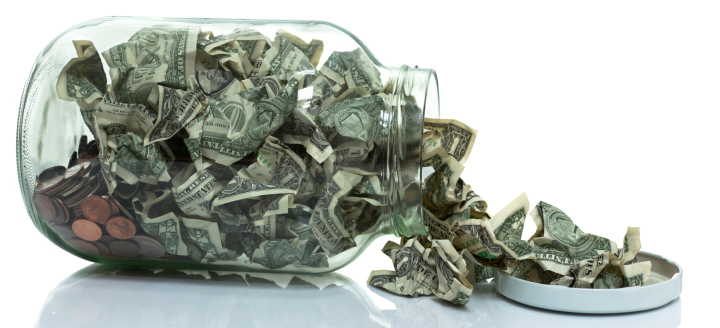
Takeaway from this post: don’t spend your $5 bucks on a Starbucks death trap!  Go put it in a jar and label it, “Trip to Dublin.”  <—that’s what I’m doing with mine.

money jar

“Your life is your message to the world.  Make sure it’s inspiring.”
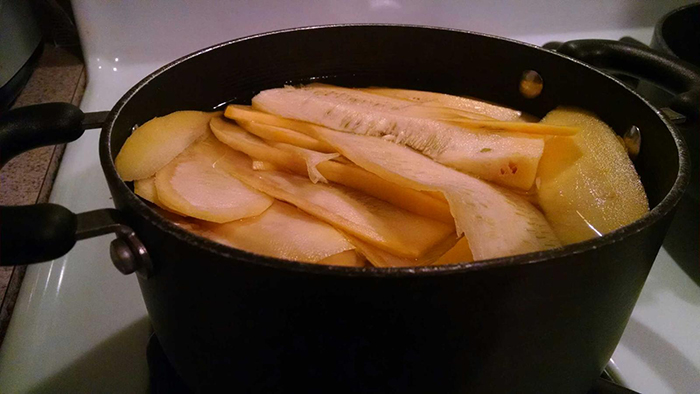
Dr. Noah’s Icebox Paleo Fudge

Ingredients:

8oz. almond butter
6 tbs. melted coconut oil
6 tbs. 100% cocoa powder
2 tbs. 100% maple syrup
2 tbs. unsweetened shredded or flaked coconut

Directions:

Mix all ingredients in a bowl.

Pour the mixture in an 8in by 8in pan lined with parchment.

Place in the fridge for a few hours, remove and cut into cubes.

Place in a container and store in the freezer.

** Any unsalted nut butter will work and honey can be substituted for the maple syrup!
**Other super foods additions can include goji berries or cacao nibs.

Paleo Bachelorette – Weenies

Yep.  You read that right!  Paleo Bachelorette – Weenies!  Let me explain…

So my friend Catherine had her bachelorette party a couple months ago, and she just so happens to be gluten intolerant.  As a nice gesture, I figured I’d make some Paleo Weenies for the party!  Fortunately, I already own a “weenie” shaped cupcake pan.  It makes 6 weenies at a time.  I would have to make about 18.  Took a few hours, but it worked out great.  I didn’t put any icing on them, I just made them like muffins.

Ingredients:

  • 3/4 c. tapioca flour
  • 1/2 c. coconut flour
  • 1 tsp vanilla extract
  • 1/2 c. melted coconut oil
  • 1/2 c. maple syrup
  • 3 eggs
  • 1 tsp baking powder
  • dash of salt

paleo-gluten-free-weenies

Directions:
350 degrees.  Mix eggs, maple syrup, coconut oil, vanilla extract.  In a separate bowl, mix tapioca flour, coconut flour, baking powder, and salt.  Slowly add the dry mixture to the wet mixture; mix well.  Fill muffin or cupcake pan (they will rise a little).  Bake for 18-20 minutes.  Check with a toothpick to make sure they cook through.

Voila!  Gluten free/Paleo Weenies for a Bachelorette party!

They ended up being a huge hit and delicious!  I made little flags for them that said “Gluten Free Weenies”, too!

“What happens at the bachelorette party, stays at the bachelorette party.”

Spicy Butternut Squash Soup – Paleo Style

Last night I made one heck of a meal, if I do say so myself!  I made butternut squash soup from scratch, sweet peppers with chicken and goat cheese, and a wedge salad.  I was slightly impressed with the butternut squash soup, just kinda went on a whim.

Ingredients:

  • 1 butternut squash
  • 1 – 2 cans of coconut milk
  • small bunch of green onions
  • 1 small jalapeño
  • salt, pepper, garlic powder

IMG_20140818_185326107

Directions:

Peel and cut up butternut squash.  Put it in a pot and cover with water.  Once the water boils, let it cook for about 30 minutes or until it softens up.  Drain water and place butternut squash back into pot.  Chop up your green onions and jalepeno.  Using a hand blender or food processor, pour 1 can of coconut milk (keep the 2nd can to add later) and blend butternut squash, green onions, and jalepeno.  If it’s too thick, add more coconut milk (it really depends on how big of a butternut squash you used).  Add salt, pepper, and garlic powder to taste and blend.  Heat for a couple more minutes and serve!  I garnished it with some dry parsley!

IMG_20140818_184937555

This is the first meal that I ate that made me feel full in a couple of days!  If you make it, let me know how it goes!!

On Sunday, I stopped in Woodstock, NY, and went to my favorite butcher there, Woodstock Meats (highly recommend).  I picked up 2 steaks…WOWZA!   So good.  If you do get to visit Woodstock, they also have a cupcake shop, Peace Love & Cupcakes, that sells gluten free/vegan cupcakes and cheesecake–if you’re into that sort of thing.  It’s a cool place to go…I’m already planning my next trip there!

“It always seems impossible until it’s done.”
-Nelson Mandela-

The Best Damn Paleo/Primal Pizza Ever

The one food item that I missed the most after going Paleo had to be PIZZA.  I used to eat a lot of pizza in my day and that was the only food I truly missed since I started following this Paleo lifestyle.  After a few months of being Paleo and looking for different ways to make my favorite dishes I decided to go on a mission to create the best damn Paleo/Primal pizza out there. So I took to the internet and found some Paleo pizza recipes and we started to give them a try.  The first couple we tried were okay, some were even complete disasters, but we were determined to find the best damn Paleo pizza recipe!  I’ve tried making it with coconut flour, almond flour, cauliflower, etc.; they just didn’t have that real New York/New Jersey pizza feel. Then I stumbled upon the right recipe, with the right ingredients…and all it needed was a little tweaking.  So here it is, the best damn Paleo pizza recipe…. it’s so good that you’ll never order another crappy gluten free pizza from your local pizzeria ever again!!

Ingredients:

1 Cup of Water 1/2 Cup Grass Fed butter or Extra Virgin Coconut Oil 1 tsp Salt 1 tsp Granulated Garlic 1 1/2 Cup of Tapioca Flour 2 Eggs 1/2 Cup of Coconut Flour 2 Cups of Shredded Cheese (if Primal) or Paleo Cheese (Recipe Coming Soon!) Tomato Sauce Then toppings of your choice – I like mushrooms and olives, sometimes we choose a meat…pretty much whatever you like on your pizza is fair game, as long as it’s Paleo!

Pizza Instructions:

1. Preheat the Oven to 400 degrees. 2. In a small sauce pan add your cup of water, salt and 1/2 of Coconut oil or 1/2 of Butter.  Bring it to a boil. 3. While that is getting ready to boil add your tapioca flour and granulated garlic into a mixing bowl. 4. When that comes to a boil, add it to the mixing bowl with the tapioca flour and garlic powder, and mix well.  It should become pretty tough and doughy.  If it’s too watery, then add a little more tapioca flour until it becomes thicker.  Then let it cool for at least 5 minutes. IMG_20140814_201356248 
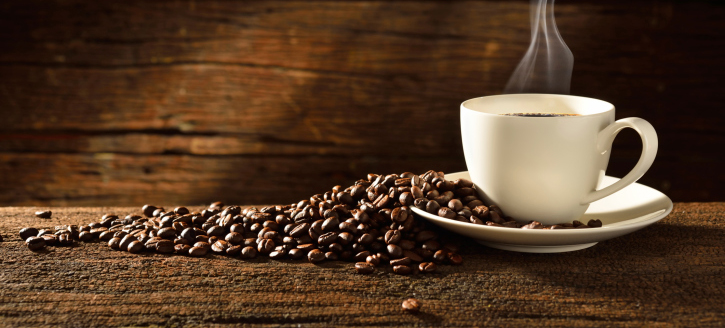
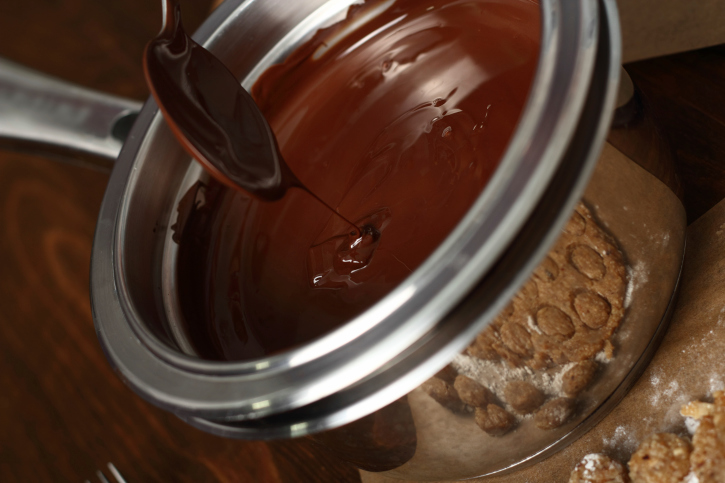
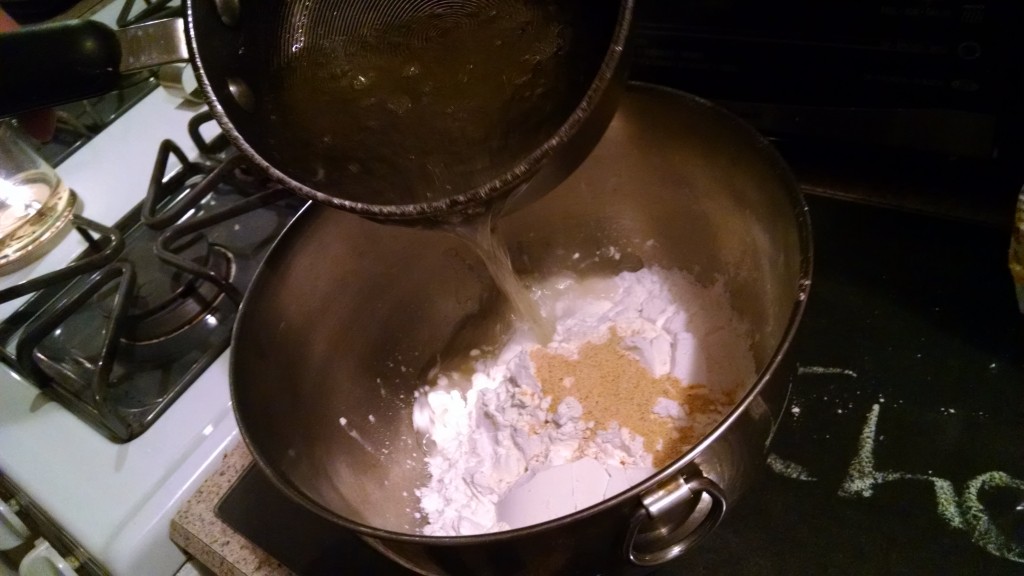
5. Next add the eggs and coconut flour.  Knead the dough until it comes together nicely.  You are probably going to have to get your hands pretty dirty here. IMG_20140814_202434600 6. Place the dough onto the parchment paper lined baking sheet and spread it out to the shape of a circle or rectangle, or whatever shape you like. 7. Now place it in the oven for 25 minutes or until the bottom is slightly golden brown.  Usually takes between 25 to 30 minutes.  Make sure you keep checking it! IMG_20140814_205416330 
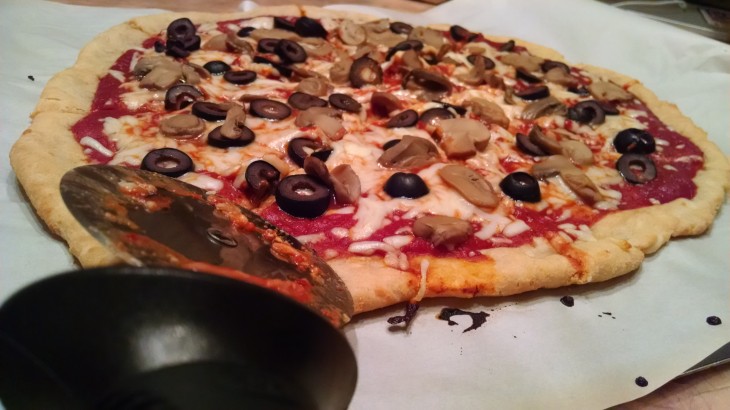
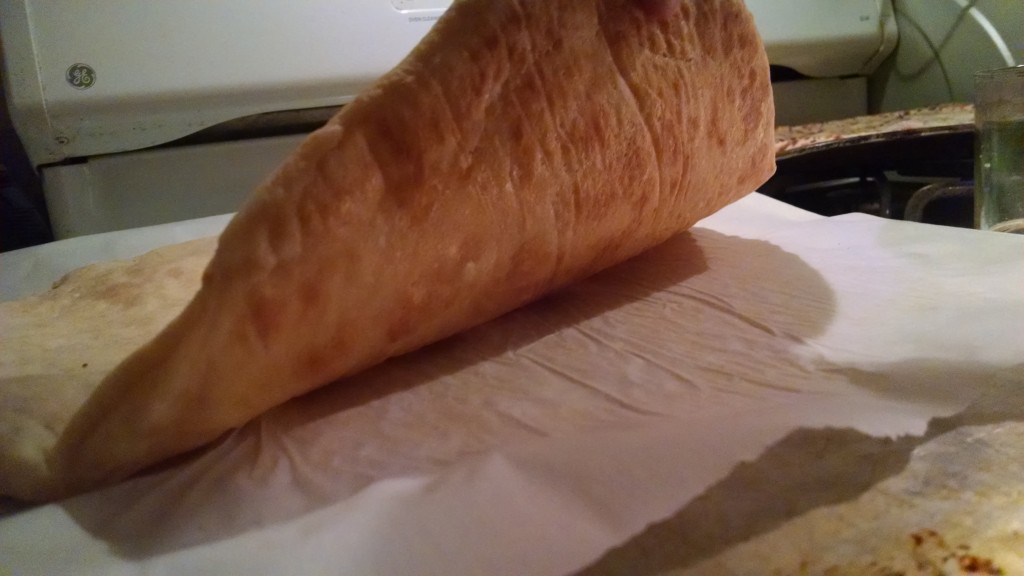
8. After about 25 to 30 minutes in the oven, take out your pizza.  Now for the fun part, decorating!  Spread sauce on the pizza, and then add the cheese of your choice and whatever toppings you are decorating your Paleo/Primal Pizza with! 9. Put it back in the oven for another 8 to 10 minutes or until the cheese is melted to your liking. 10. ENJOY!